
Today my quilt sold at auction, but I realized that I never finished the story of how it was constructed. Shame on me! In order to remedy the situation, I determined to finish what I had started with a explanation of how "Spring in the Abstract" came to be.
You may remember that I started this journey in April, back when it was spring. Our "Finding the Artist's Way" group had a challenge to do a spring-themed work of art. I found my inspiration in an article in the March/April '18 issue of "Cloth Paper Scissors" by Tansy Hargan. When we last visited the piece, I had arranged snippets and scraps on a piece of grid-interfacing (interfacing with a one inch grid printed on one side) and I let the design "sit."

Now comes that part that calls for a bit of bravery: cutting apart the piece that has been so carefully constructed! I decided that I didn't want equal pieces. Following the article, I named each section so that it would represent an aspect of nature: mountains, trees, flowers and water. This helped with the stitching patterns that were to come.

It looks like I got a little crazy with "water"!

After stitching, another difficult task: cut it into one inch pieces! Obviously this covers a multitude of evils, AKA wobbly, inconsistent stitching. I had deviated from the directions in the magazine by placing the small pieces on the back of grid-interfacing. Now, I simply had to turn it over and cut on the lines for exact one-inch squares. I love it when I can use a tool, like special interfacing, to make my work easier!
In laying all of the inch squares onto the background fabric, I decided that I didn't like it--the fabric, not the piece in general. The pattern was too busy and competed with the squares. No matter how I arranged it, it didn't suit.

Only one thing to do: find another background fabric. The piece that I chose was a hand-dye from Laura Wasilowski and had a nice gradation from green to blue--perfect for spring. That gradation inspired the placement of the blocks: from light yellows in the upper right to dark blues and black in the lower left, with a few aberrant blocks thrown in for interest. I liked the light blocks contrasted with the light blue background and the darker blocks against the light green.

Finally happy with the arrangement of the squares, it was time to stitch it all together. Yes, I had help in the form of some suitable glue. The last thing that I wanted was to sneeze and have everything move!

Just a simple zigzag stitch keeps everything orderly! Finally, what would spring be without a few flowers? And so, the floral embellishments appeared on the top. The final piece is all blues, greens and yellows and the perfect embodiment of spring!
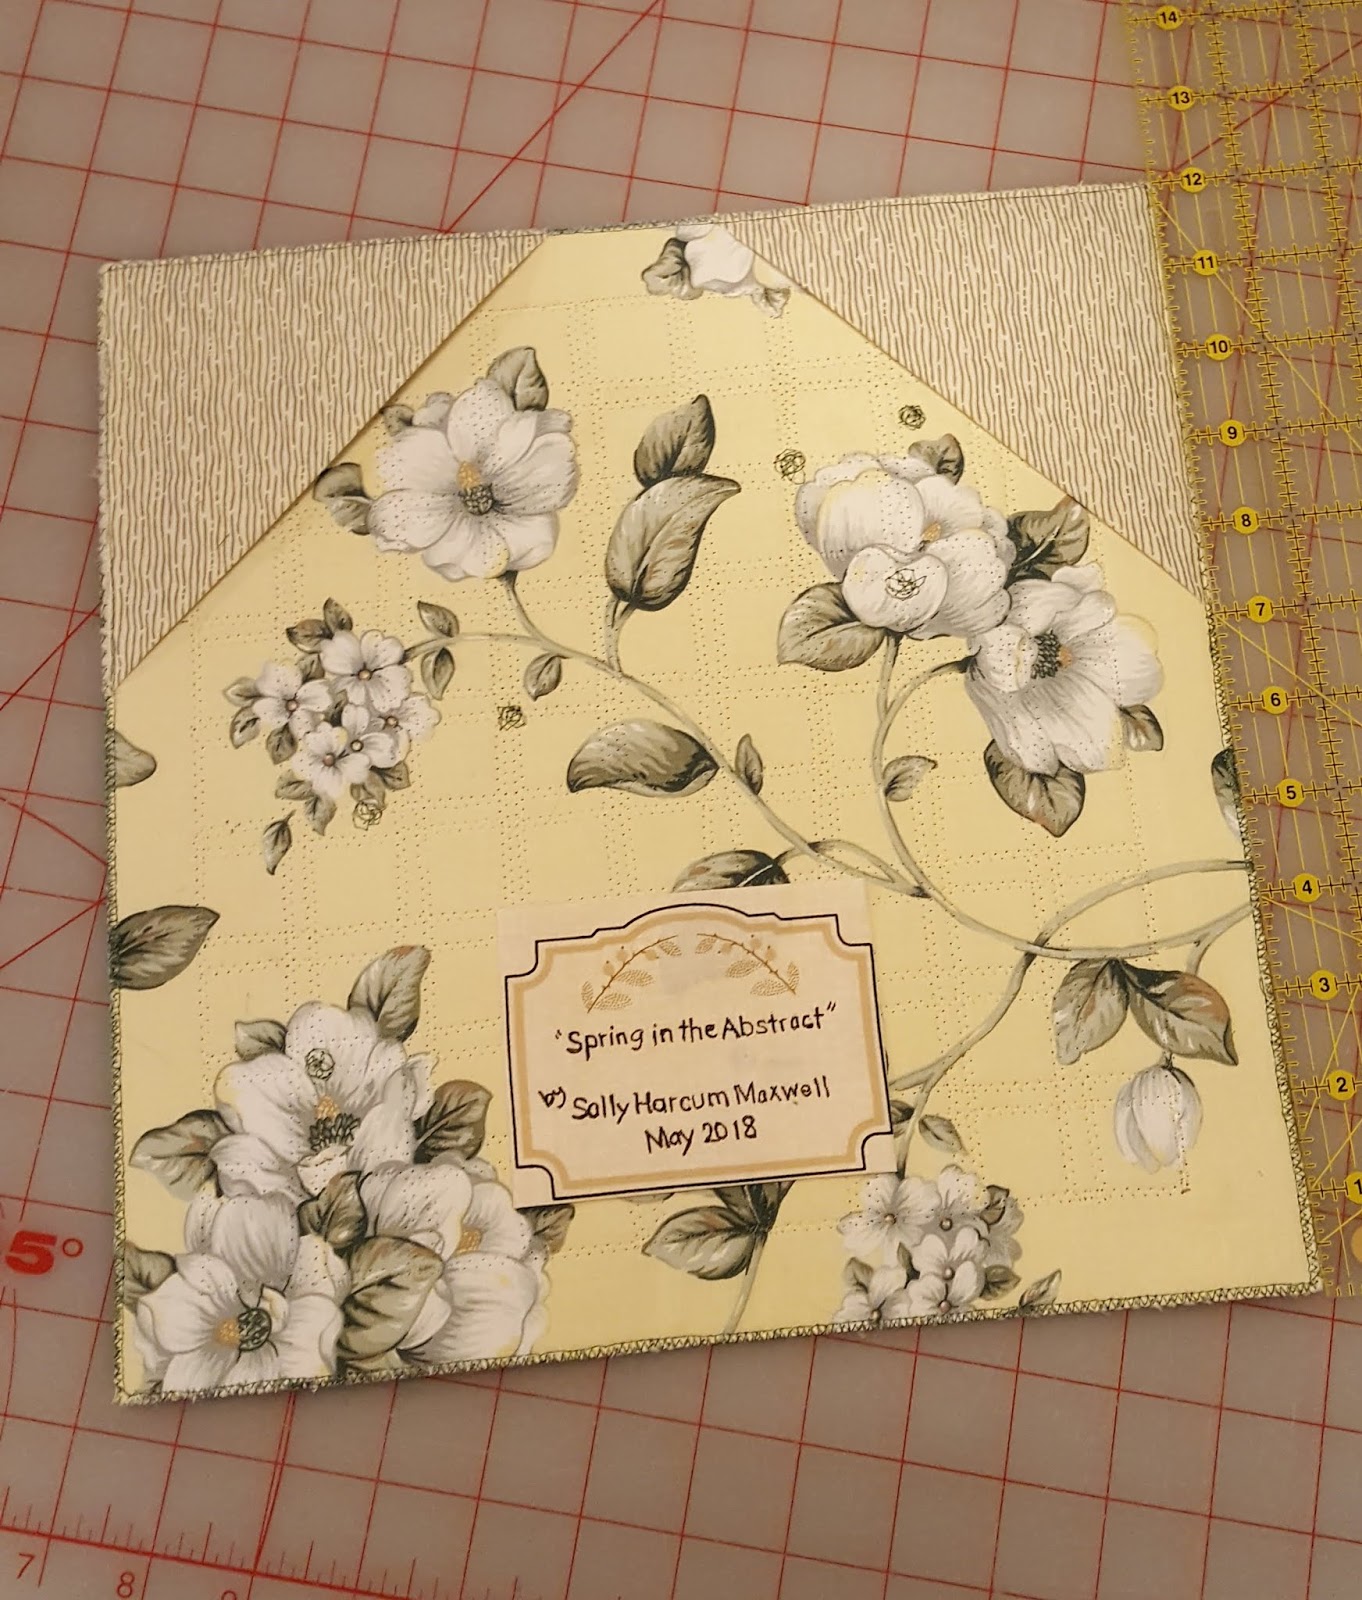
Oh, yes! It wouldn't be finished without the label (and corners for hanging). I was able to use that background after all!

But there's more! It seemed that I had more squares than I needed for this 12 by 12 inch piece. It seemed only natural to do a second. This differs from the first in that the floral background comes through to be a part of the story. This one is more free-form, not strictly bound by the grid placement. Here you can also see the ribbon used for the binding in both pieces.
I hope these descriptions and explanations illuminate my decision-making and choices in these pieces. The record is now complete!


No comments:
Post a Comment